Trezor is one of the most popular wallets for crypto users. It’s not only a secure way to hold onto assets in your crypto portfolio, it can also be used to send cryptocurrency—and even donate some to charity. With thousands of nonprofits actively fundraising cryptocurrency, it’s never been easier to find a cause to support with your BTC, ETH, USDC or dozens of other cryptocurrencies, right from your Trezor wallet.
What You’ll Need First:
- A Trezor wallet
- A balance of the token you wish to donate
When you’re ready to go, follow the steps below to donate crypto from your Trezor wallet securely and confidently:
Start Here (Steps 1-4)
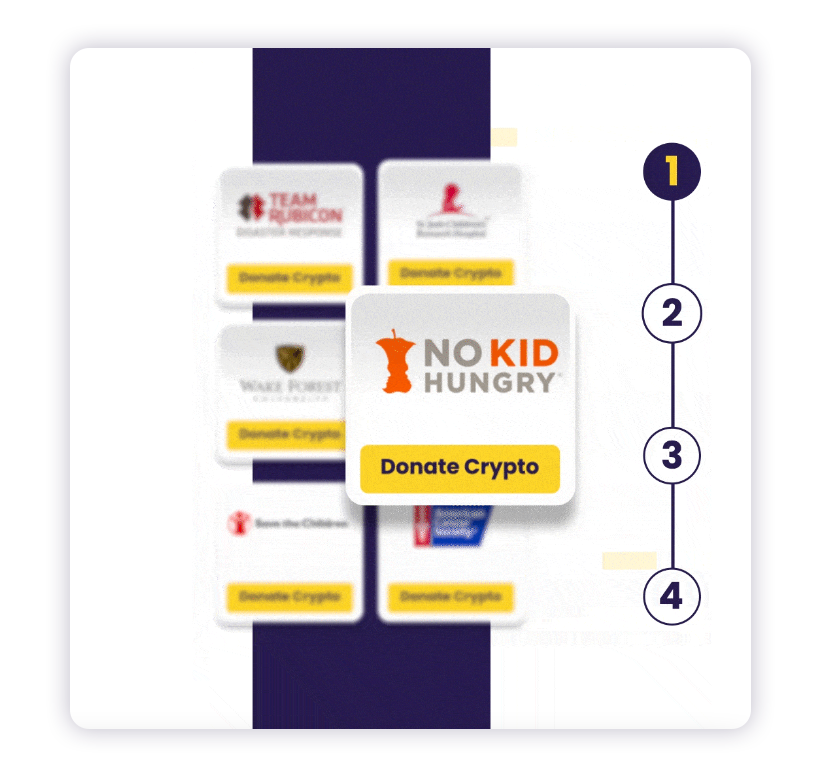
Step 1: Pick a charity to support
Choose from thousands of causes and charitable organizations to support on The Giving Block’s platform. On their donation page, click “Donate Now” to start your donation.
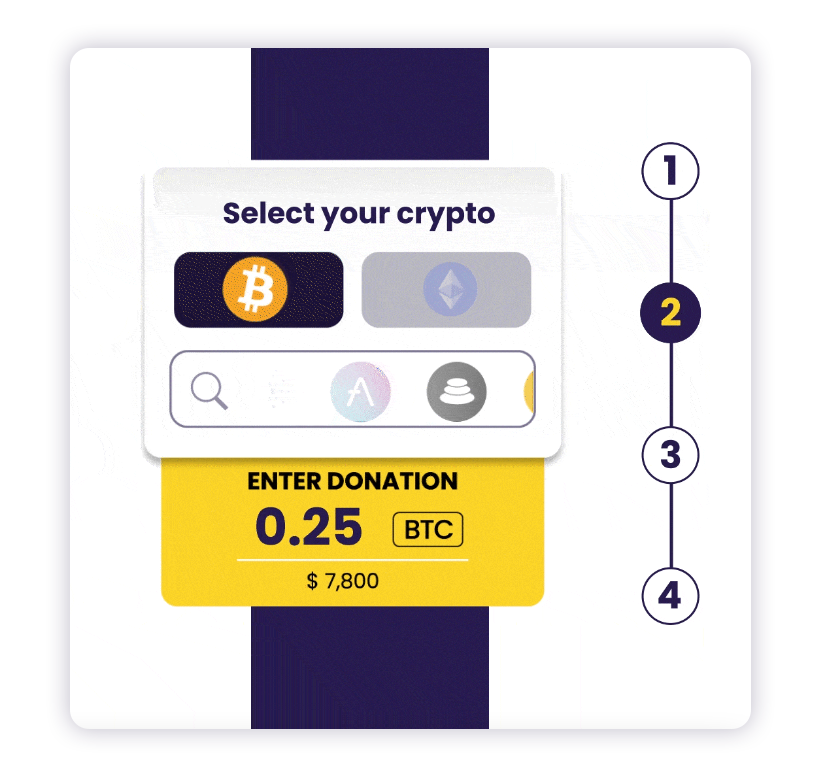
Step 2: Select an asset to donate
Choose a cryptocurrency to donate and the amount you wish to give. Each asset will generate a different wallet address, so please be sure you have picked the right one for your charitable donation.
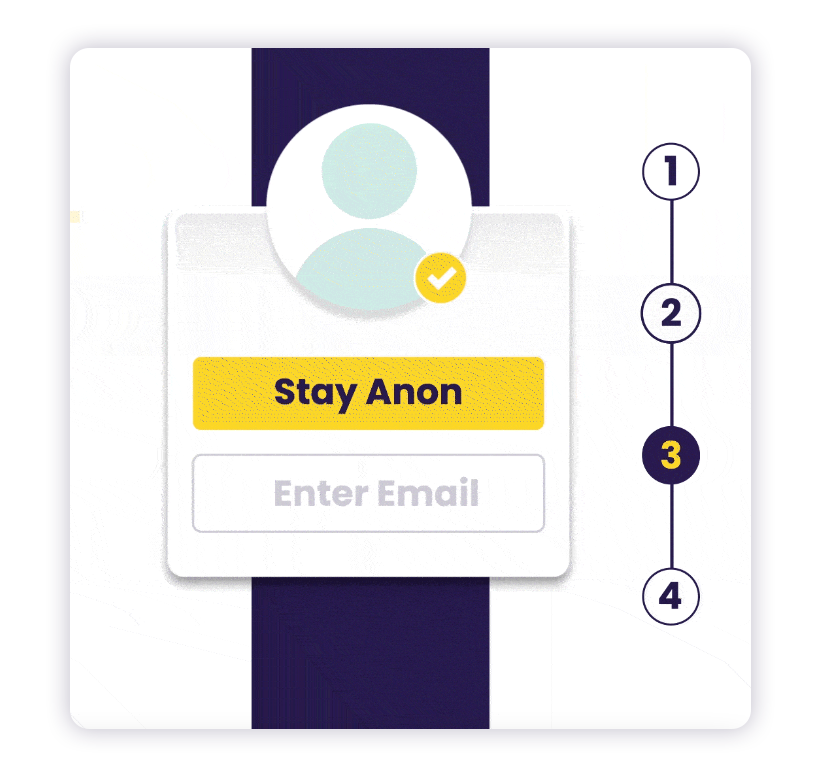
Step 3: Enter personal info (or choose to be anonymous)
Fill in any personal information you wish to share with the nonprofit that will receive your donation. You can also check a box to “Make anonymous donation.”
On the next page, you can also choose whether or not to receive a tax receipt. If you would like to receive a tax receipt while remaining anonymous, you will still need to enter your email. )This email will only be used for the purpose of issuing your tax receipt.) Click “Get Receipt” or “Skip.”
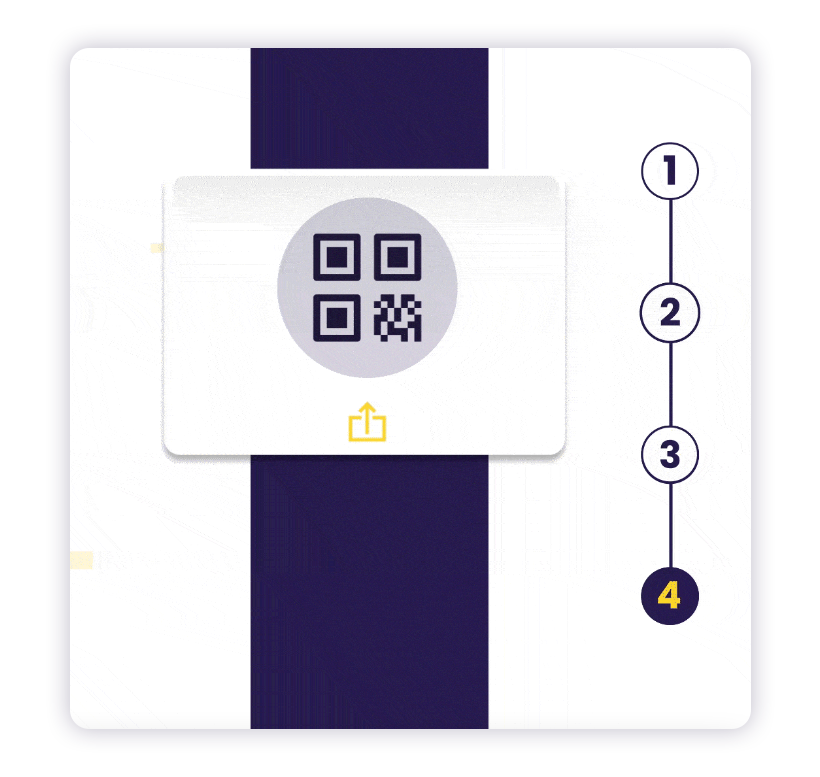
Step 4: Copy wallet address
The next page will show a generated wallet address that is specific to the asset and the charity you have selected. Copy this wallet address.
Complete the Transaction (Steps 5-7)
Step 5: Select the cryptocurrency to donate
Plug in your Trezor device and go to the “Accounts” page. Select the asset you want to send, which should be the same asset you selected in Step 2 above. Next, tap the “Send” button.
Step 6: Enter transaction details
Put in the recipient’s address—this is the wallet address that you copied in Step 4 above. Choose the amount that you wish to send, and the transaction fee you want to pay.
Step 7: Confirm the transaction
With all the details entered, double check that everything is correct. Then, press “Confirm.” In Trezor Suite, you can check your transaction history in the Overview tab, where your transaction will be listed once it has been confirmed.
If you have completed the steps above, you’re all set! If you have chosen to receive a tax receipt for your charitable donation, it will be sent to the email address that you provided.
Want some more reassurance about the process? Trezor also has an article about sending crypto assets from Trezor Suite that you can review.
Join the thousands of cryptocurrency donors making the world a better place through charitable giving. Find a nonprofit, educational institution, or faith-based organization to support today.


